Template project
The following steps will guide you through the setup of the template project. If you want a faster alternative, you can use the Makefile to automate the setup process. However, following the instructions below will give you a better understanding of the project structure.
Prerequisites
- Python >=3.11
- Node.js - in case you want to run Browser library tests
- Visual Studio Code or any other code editor
- Wopee.io account
Environment setup
Set Wopee.io API key
Before running the visual test, set up your API key as an environment variable named WOPEE_API_KEY.
You may set it from the command line like this:
Set .env file params
Template repository comes with sample environment file. You can easily reuse it and set your own .env file. To do so copy or rename .env.example file into .env.
All parameters are already set in .env.example file. You need to set only WOPEE_PROJECT_UUID parameter.
Where to find project UUID and Wopee.io API key?
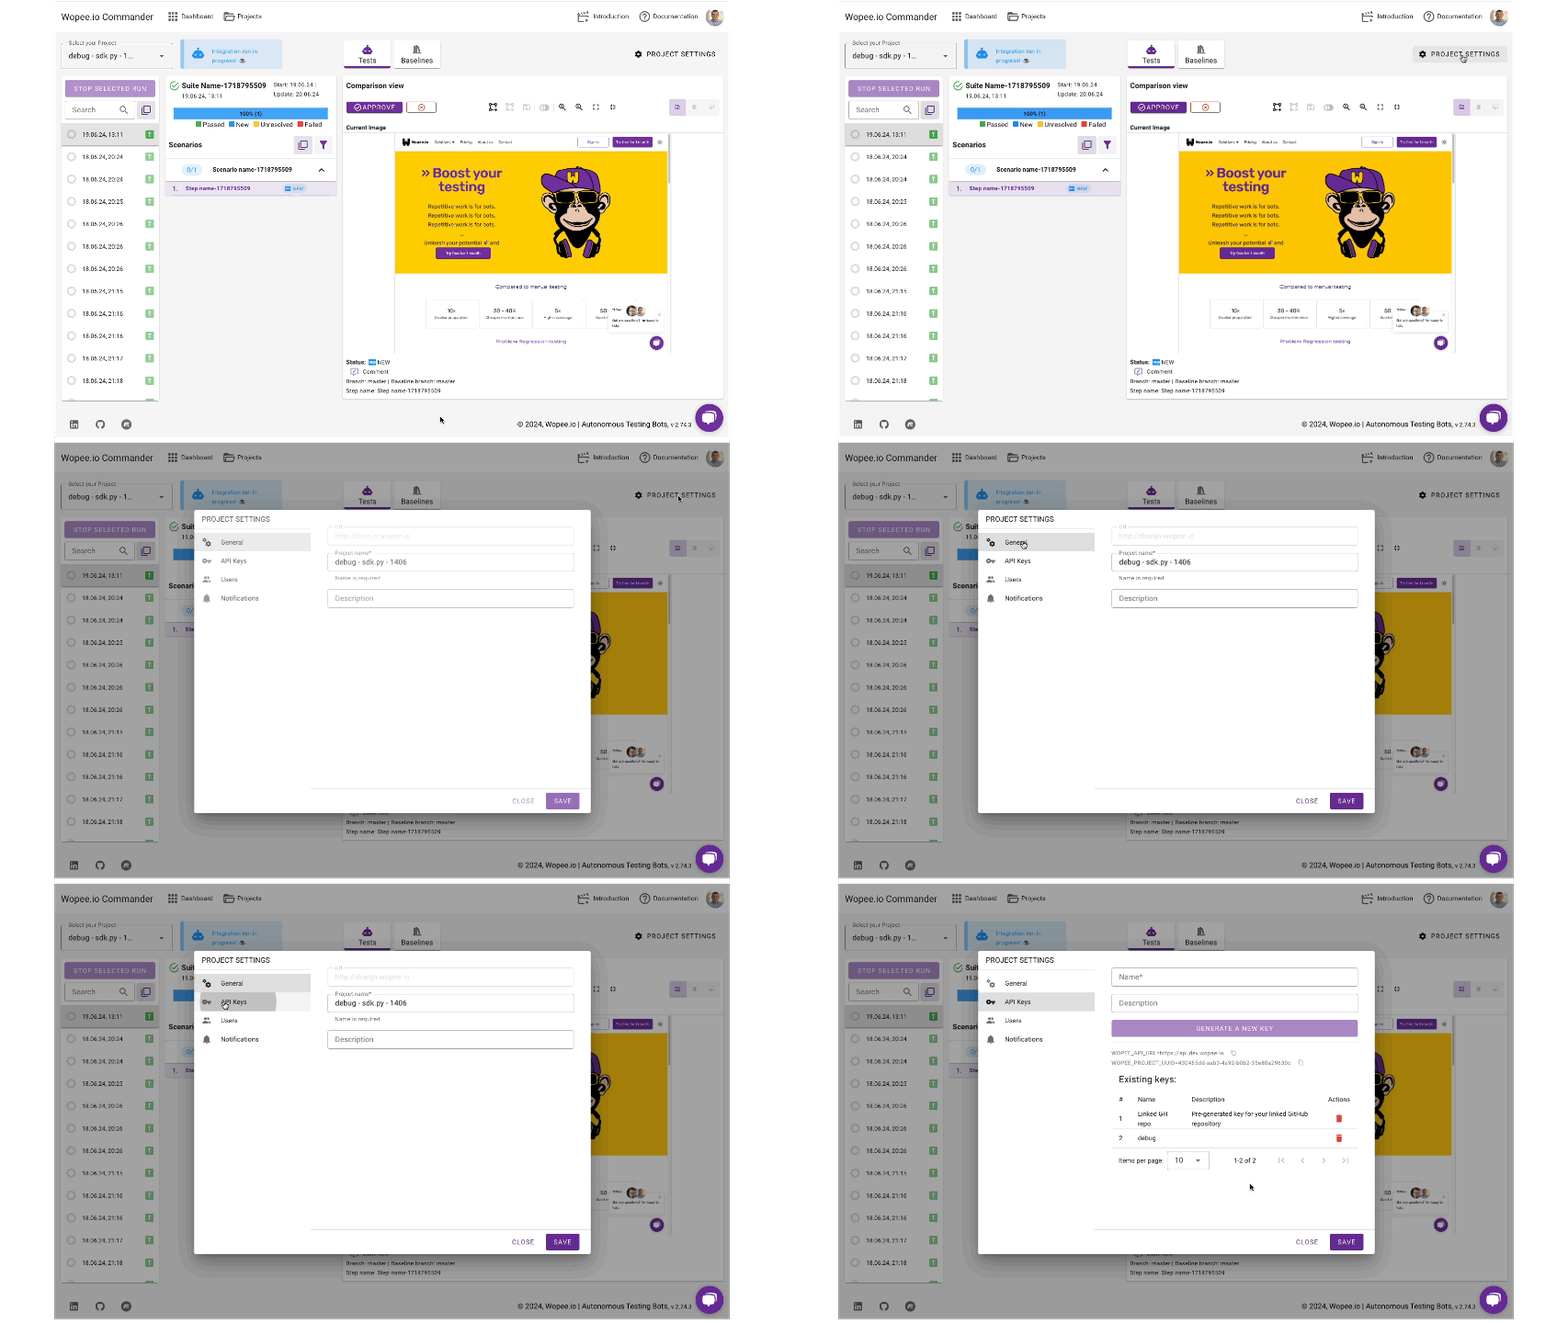
You can find your project UUID and Wopee.io API key in the project settings screen after navigating to project.

Get template project
Clone repository using VS Code palette option (Ctrl + Shift + P): https://github.com/Wopee-io/robotframework-template or by running:
git clone https://github.com/Wopee-io/robotframework-template
Tip
You can save your time by using Makefile to automate the setup process and run tests easier. Check out our Set up with Makefile documentation for more details.
Create and activate virtual environment
This step is optional but recommended:
Install dependencies
Install all dependencies:
pip install -r requirements.txt
Note
We are using GitHub repository to store our python package. Make sure your requirements.txt file refer to the latest version of the package.
You can find our Robot Framework releases here.
Note
If you want to run Browser library tests you need to install additional dependencies:
Run tests
To run it with Wopee.io library approach, execute the following command:
Run for any picture comparison
Run with Selenium library
Run with Browser library
To run it with Wopee.io listener approach, execute the following command:
Running listener with Selenium library
export WOPEE_DRIVER_LIBRARY=SeleniumLibrary && \
robot --listener 'wopee_rf.Listener:--dot_env_path:.env' tests/selenium_listener.robot
Running listener with Browser library
export WOPEE_DRIVER_LIBRARY=BrowserLibrary && \
robot --listener 'wopee_rf.Listener:--dot_env_path:.env' tests/browser_listener.robot
Note
When you are using only one of the libraries, you can set WOPEE_DRIVER_LIBRARY in your .env file however make sure you are not overwriting.
Following commands might be also handy: